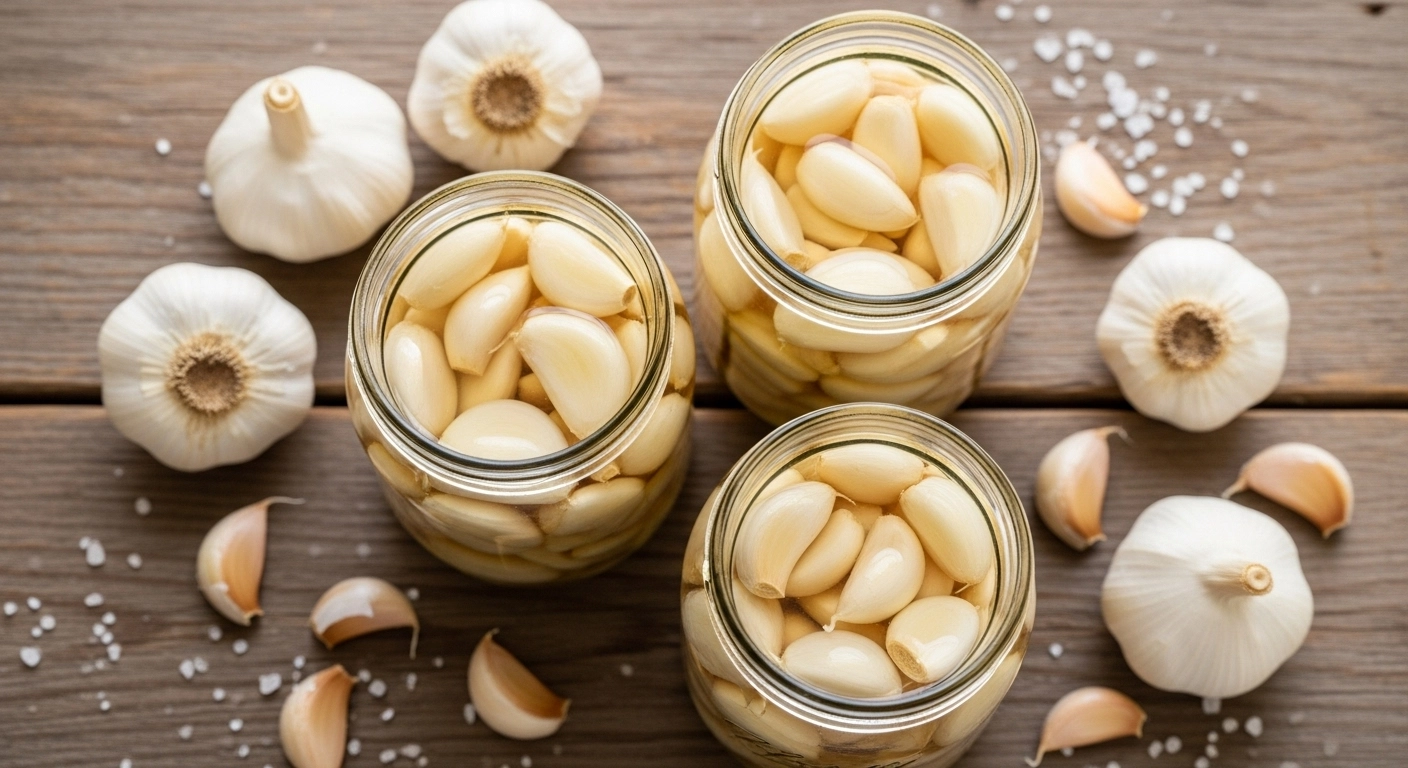
Okay, seriously, you have to try this. The lacto fermented garlic recipe is this ridiculously cool, tangy, and super healthy twist on plain old garlic that’ll make your cooking pop. If you’re into gut-friendly foods (hello, probiotics!) or just a home cook who wants to deep-fry the flavor of everything, this guide shows you how to make the best lacto fermented garlic at home.
This guide isn’t some boring science paper. I’m going to show you how easy it is to turn everyday garlic into a jar of shelf-stable superfood. We’ll break down what “lacto fermentation” even means, why it’s a total game-changer for your health, and then give you the nine simplest steps to get your own batch going. Trust me, once you master this lacto fermented garlic recipe, you’ll feel like a fermentation rockstar.
What’s the Big Deal with Fermenting?
What Is Lacto Fermentation?
So, “lacto fermentation” sounds fancy, but it’s really just an old-school way of preserving food. Think about it: our great-great-grandparents didn’t have fridges! Instead of using vinegar, we let these naturally occurring lactic acid bacteria (they’re already chilling on the garlic) do all the work. As they munch on the garlic’s sugars, they create lactic acid. That acid is what keeps the bad germs away and blesses us with those wonderful probiotics. It’s basically natural magic.
Understanding the Science Behind Lacto Fermented Garlic
Here’s the quick and dirty science: You dump peeled garlic cloves into a saltwater bath (called a brine). The good bacteria wake up and start their little party, gobbling up the sugars and making that signature lactic acid. This lowers the pH level, creating an environment that bad microbes hate.
On top of that, these superstar bacteria actually generate B vitamins and enzymes—talk about a nutritional upgrade! Over a few weeks (usually two to four weeks), the fermented garlic gets this gorgeous tang and softens up, but it still keeps that awesome garlicky punch. It’s like a mellow, more sophisticated garlic. This simple lacto fermented garlic recipe is worth the wait.
Benefits of Probiotic-Rich Garlic
Fermented garlic is more than just a flavor booster. First and foremost, those probiotics are basically a cheerleading squad for your tummy, helping to balance out your gut flora. The lactic acid also helps your body actually soak up nutrients better—so you get max benefit from every clove. Plus, you still get all the natural antioxidants garlic is famous for (hello, immune support!). And the best part? Once it’s done, you just stick your delicious lacto fermented garlic in the fridge, and it lasts forever (okay, up to six months).
| Benefit | Description |
| Probiotics | Supports gut health by balancing beneficial bacteria |
| Enhanced Nutrient Absorption | Lactic acid improves mineral uptake |
| Immune Support | Retains antioxidants that may boost immunity |
| Extended Shelf Life | Safe storage for up to 6 months refrigerated |
Why Bother Fermenting Garlic? (Taste, Duh!)
Why Ferment Garlic?
Honestly, the lacto fermented garlic recipe is a win-win situation. It’s not just about preservation—it gives a huge boost to both your health and the flavor of your food.
Health Advantages of Lacto Fermented Garlic
We already touched on this, but it’s worth shouting about: your ordinary cloves turn into a potent probiotic powerhouse. First, the live cultures support gut balance. Additionally, making this lacto fermented garlic recipe can increase the bioavailability of key nutrients, making them easier to absorb. Finally, the lactic acid generated helps suppress harmful pathogens.
Culinary Uses and Flavor Profiles
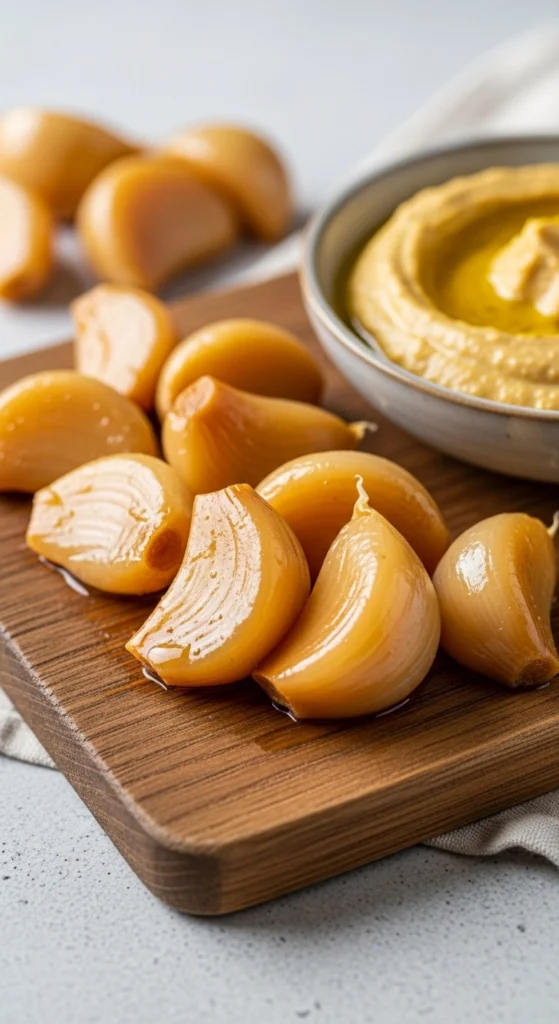
Here’s where it gets delicious. Fermented garlic delivers a unique taste that’s tangy, a little sweet, and way less harsh than raw garlic. The fermentation process is like an anger management course for the sulfur compounds, so the cloves get soft and almost spreadable.
What do you do with it? Oh, the possibilities! You can stir mashed lacto fermented garlic cloves into mayo or aioli, blend them into a creamy hummus for a fermented kick, chop them up and sprinkle them over roasted veggies, or even mash them into salad dressings. It’s good on everything.
Let’s Get Started: Ingredients and Gear
Before you jump into your lacto fermented garlic recipe adventure, grab the freshest stuff and the right tools. It’ll make the whole process go smoothly.
Essential Ingredients and Equipment
Selecting Fresh Garlic for Fermentation
Don’t skimp here! You want garlic heads that are firm and plump—no soft spots or green sprouts, please. If you can get organic or local garlic, even better; they usually have the best flavor and more of those good bacteria we need. Definitely skip the pre-peeled stuff; their surfaces have fewer of the good guys.
Salt Types and Water Quality
This is critical: You MUST use non-iodized salt. I’m talking sea salt, pickling salt, or kosher salt without any weird additives. Iodized salt can actually kill the bacteria we want! And use filtered or spring water. Chlorine or heavy metals in tap water can mess up the fermentation, so don’t risk it. We’re aiming for a brine that’s about 2–3% salt (roughly 121 tablespoons per cup of water).
Preparing Garlic Cloves
Get these steps right, and you’ll prevent any issues with your lacto fermented garlic recipe.
Peeling Techniques for Easy Handling
Peeling a mountain of garlic is the worst part, I get it. Try this: separate the cloves, then give each one a gentle smash with the flat side of a knife. The skin usually pops right off! Or, soak the whole heads in warm water for 10 minutes to loosen things up.
Sterilizing Jars and Utensils
We want a clean start! Wash your jars, lids, and tools with hot, soapy water. Rinse them super well, then sterilize by boiling them or running them through a dishwasher on a hot cycle. Make sure everything is totally dry before you start, so you don’t accidentally dilute your perfect brine for the lacto fermented garlic recipe.
The Fermentation Process: Be Patient!
Follow these steps for a successful lacto fermented garlic recipe. It’s easier than baking bread, I promise.
Creating the Brine Solution
Dissolve your measured salt in filtered water, stirring until clear. Pour the brine into your clean jar, making sure to leave about 1–2 inches of empty space at the top.
Packing Garlic into the Jar
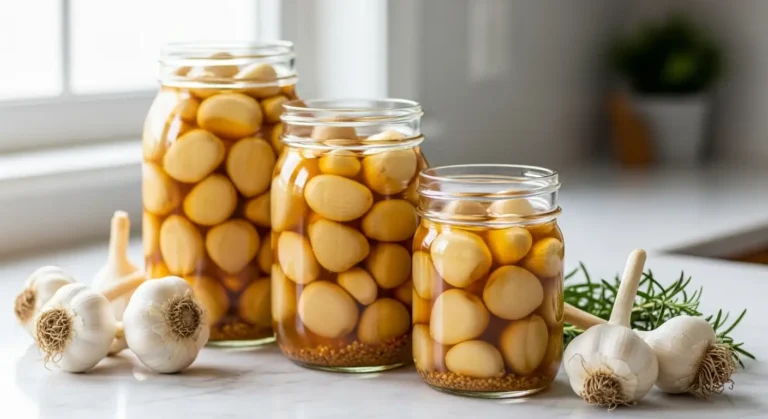
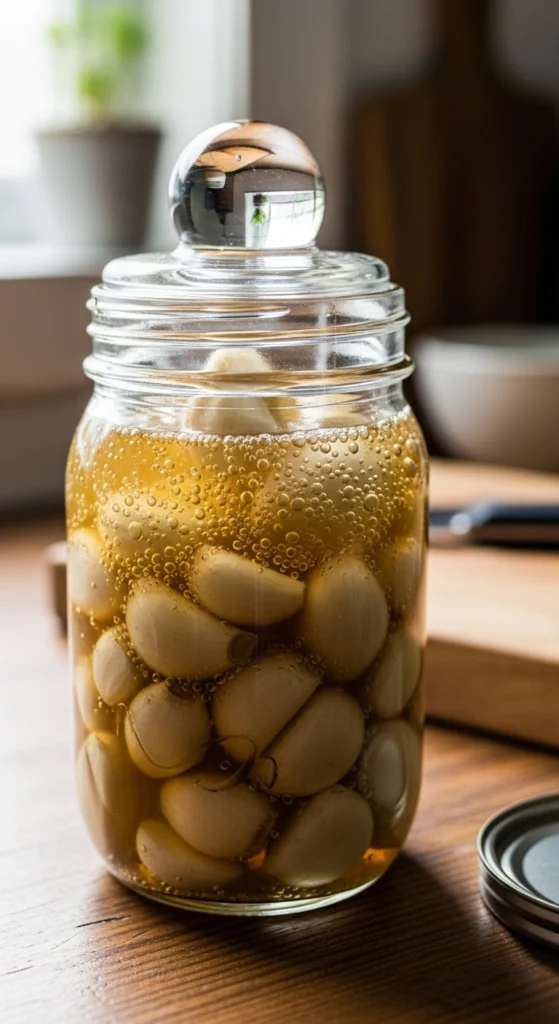
Tightly pack those beautiful peeled cloves into the jar. The most important thing here is that they stay completely under the brine. You can use a glass fermentation weight or even a small Ziploc bag filled with a little bit of the brine to keep them submerged. Floating garlic is bad news!
Fermentation Times and Temperatures
Patience and consistent conditions are key to a perfect lacto fermented garlic recipe.
Ideal Conditions for 2–4 Weeks
Set your jar somewhere out of direct sunlight where the temperature is consistent—ideally around 60–75∘F (15–24∘C). Start tasting at the two-week mark. If you wait longer, you’ll get a stronger, more intense tanginess. Just remember to ‘burp’ the jar (open the lid slightly) every day or two for the first week to release the CO2 gas.
Signs Your Garlic Is Ready
You’ll see a few things: a little bit of fizz (tiny bubbles) when you gently move the jar, the cloves will be slightly softer, and you’ll get a lovely, pleasantly sour smell. If the liquid is still clear and you see light bubbling, your lacto fermented garlic is ready to go! Time to put it in the fridge.
Figure: pH decline and lactic acid production over a 4-week fermentation period. . If you see mold that’s fuzzy or colorful, it’s best to toss the batch. If it’s just a little bit of white yeast on top (called kahm yeast), you can skim it off, but if you’re unsure, better safe than sorry.
Storing and Using Your Garlic Gold
Storing and Using Lacto Fermented Garlic
You worked hard for this—now keep it safe!
Long-Term Storage Tips
Once the lacto fermented garlic recipe is finished and tastes exactly how you want it, refrigerate the sealed jars. The cold drastically slows down the fermentation, preserving the quality of your amazing fermented garlic for up to six months.
Recipe Ideas and Serving Suggestions
- Mix your lacto-fermented garlic into compound butter for an amazing steak or a slice of crusty bread.
- Stir it into mashed potatoes or a pasta sauce for a savory, tangy twist.
- Blend the cloves and brine into salad dressings for that probiotic boost.
Frequently Asked Questions
How Long Does Lacto Fermented Garlic Last?
Refrigerated, it stays fresh for up to 6 months.
Can I Use Iodized Salt?
No; iodized salt can hinder beneficial bacteria—stick to non-iodized varieties.
Is It Safe to Eat If It Smells Strong?
A robust garlic aroma is normal. Discard only if you detect rotten or musty off-smells.
Conclusion
See? That lacto fermented garlic recipe isn’t scary at all! You’ve learned all the secrets, from the science behind those cool lactic acid bacteria to the perfect storage tricks. You’re now ready to create a delicious, probiotic-packed pantry staple. Seriously, embrace the tangy goodness of this fermented garlic—your cooking (and your happy gut) will thank you big time.
Ready to try your first batch, or do you have any other funky foods you want to ferment?
Print
Lacto Fermented Garlic Recipe: The Absolutely Easiest Way to Make It
- Total Time: 20 minutes active, 2–4 weeks fermentation
- Yield: 1 quart jar
- Diet: Vegan
Description
A tangy, gut-friendly, and flavorful twist on plain garlic. This easy lacto fermented garlic recipe creates probiotic-rich cloves that elevate any dish.
Ingredients
- Fresh garlic heads (firm and plump, no sprouts)
- Non-iodized salt (sea, kosher, or pickling salt)
- Filtered or spring water
- Clean glass jar with lid
- Fermentation weight or small Ziploc bag
Instructions
- Peel the garlic cloves, removing all papery skins.
- Sterilize jars, lids, and utensils using hot water or a dishwasher.
- Prepare a 2–3% brine by dissolving 1½ tablespoons of salt per cup of water.
- Pack peeled garlic cloves tightly into the jar.
- Pour the brine over the garlic, leaving 1–2 inches of headspace.
- Ensure cloves stay submerged using a fermentation weight or small bag filled with brine.
- Store the jar in a cool, dark place (60–75°F / 15–24°C) for 2–4 weeks.
- Burp the jar every day or two for the first week to release gas.
- When garlic softens, smells tangy, and bubbles slightly, refrigerate to stop fermentation.
Notes
If garlic turns blue or green, it’s harmless and safe to eat. Keep cloves submerged to prevent mold. Store finished garlic in the fridge for up to 6 months.
- Prep Time: 20 minutes
- Cook Time: 0 minutes
- Category: Fermented Foods
- Method: Fermentation
- Cuisine: Probiotic
Nutrition
- Serving Size: 1 clove
- Calories: 5
- Sugar: 0g
- Sodium: 85mg
- Fat: 0g
- Saturated Fat: 0g
- Unsaturated Fat: 0g
- Trans Fat: 0g
- Carbohydrates: 1g
- Fiber: 0g
- Protein: 0g
- Cholesterol: 0mg
Keywords: lacto fermented garlic, probiotic garlic, fermentation, gut health
Sources
- Wild Fermentation by Sandor Ellix Katz (North Atlantic Books): https://www.northatlanticbooks.com/book/wild-fermentation/
- On Food and Cooking: The Science and Lore of the Kitchen by Harold McGee (Scribner): https://www.simonandschuster.com/books/On-Food-and-Cooking/Harold-McGee/9780684800011
- “Fermentation: Definition, Process & Uses,” The Spruce Eats: https://www.thespruceeats.com/fermentation-definition-uses-1327754
- “Health Benefits of Probiotics,” Harvard T.H. Chan School of Public Health: https://www.hsph.harvard.edu/nutritionsource/probiotics/

